Bitweaver installation
Let's look at the first step of touching Bitweaver yourself - the installation. Bitweaver has one of the most pleasant graphical CMS installations I have ever seen. It guides even almost a lame person through the about 10 installation steps very nicely, mostly with a confirmation that it was successful. Let's go virtually through the process ones more. The images illustrate current R2 Beta installer, but it almost hasn't changed from the version 1.
The installation consists of about 16 screens including confirmation screens. I will post only few probably most important of ones.
Hopefully, the installer is easy enough for you! Good luck with your new Bitweaver site! (:biggrin:)
The installation consists of about 16 screens including confirmation screens. I will post only few probably most important of ones.
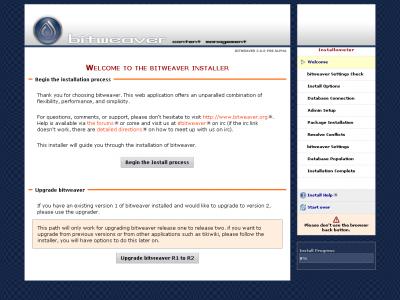
Welcome screen
The welcome screen gives you some basic info and few link following documentation and support if needed. The first page also gives you the possibility of choosing to upgrade your current R1 site to R2.Bitweaver PHP settings check
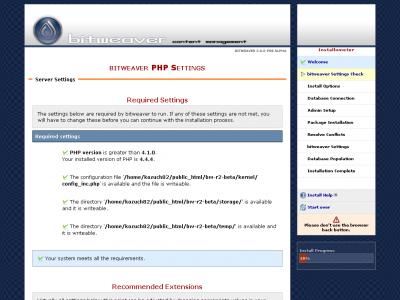
This step contains pre-installation server environment check. It tells you whether your PHP version is OK etc. It also checks for the additional/optional php plug-ins like gd or imagick. It also checks if the file permissions for particular folders are set properly and if not suggests a shell command to resolve that.Database options
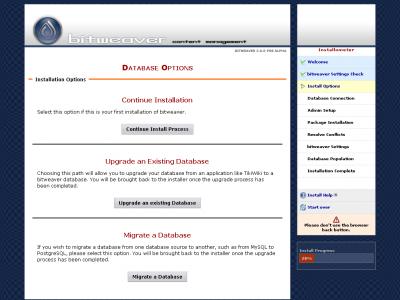
On this screen you are able to take different installation tracks - either continue clean install, upgrade an existing database or migrate a database for instance from MySQL to PostgreSQL. We will continue with clean install.Package installation
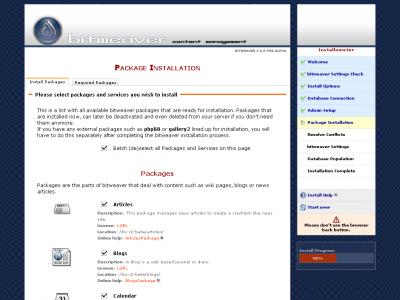
After you set you enter and admin information on following screens, package installation screen comes. You are able to choose which Bitweaver packages (e.g. Articles, Blogs) to install. If you omit a package, you can install it later by accessing the installer from the administration menu again. Package installation can take some seconds on slower servers so be sure you press the submit button only once.Bitweaver settings
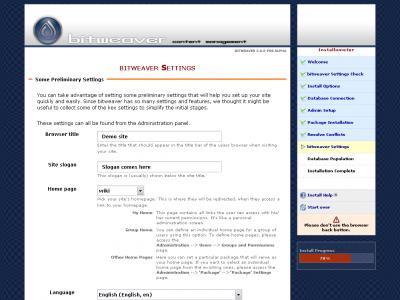
As the installation comes slowly to its end, you are prompted to enter you new site data like site name or site slogan now. You are also about to choose which package will be loaded by default when you call your site home URL (yoursite.com will redirect to yoursite.com/wiki for instance). There is a new SitehomePackage in development though which will enable to make a fully custom home though.Installation complete
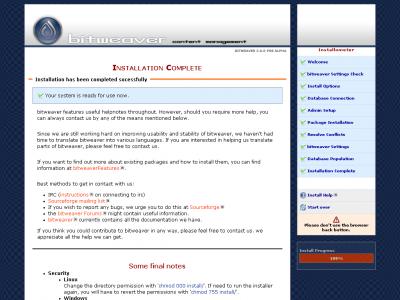
After you possibly polulate sample data, the installation is over and your new site is ready to use! The last screen gives you some additional info about your site and few tips for enhanced security and better site performance.Hopefully, the installer is easy enough for you! Good luck with your new Bitweaver site! (:biggrin:)
Comments
more
Use the search